
蒙特卡洛树搜索
STDIOAI辅助分析推理的贝叶斯蒙特卡洛树搜索引擎
AI辅助分析推理的贝叶斯蒙特卡洛树搜索引擎
![]()
A Model Context Protocol (MCP) server that exposes an Advanced Bayesian Monte Carlo Tree Search (MCTS) engine for AI-assisted analysis and reasoning.
This MCP server enables Claude to use Monte Carlo Tree Search (MCTS) algorithms for deep, explorative analysis of topics, questions, or text inputs. The MCTS algorithm uses a Bayesian approach to systematically explore different angles and interpretations, producing insightful analyses that evolve through multiple iterations.
The MCTS MCP Server now includes cross-platform setup scripts that work on Windows, macOS, and Linux.
Option 1: Cross-platform Python setup (Recommended)
# Clone the repository
git clone https://github.com/angrysky56/mcts-mcp-server.git
cd mcts-mcp-server

# Run the setup script
python setup.py
Option 2: Platform-specific scripts
Linux/macOS:
chmod +x setup.sh
./setup.sh
Windows:
setup_windows.bat
The setup script automatically:
.env file from templateAfter setup, verify everything works:
python verify_installation.py
This runs comprehensive checks and tells you if anything needs fixing.
Edit the .env file created during setup:
# Add your API keys (remove quotes and add real keys)
OPENAI_API_KEY=sk-your-openai-key-here
ANTHROPIC_API_KEY=sk-ant-your-anthropic-key-here
GEMINI_API_KEY=your-gemini-api-key-here

# Set default provider and model (optional)
DEFAULT_LLM_PROVIDER=gemini
DEFAULT_MODEL_NAME=gemini-2.0-flash
Getting API Keys:
The setup creates claude_desktop_config.json. Add its contents to your Claude Desktop config:
Linux/macOS:
# Config location
~/.config/claude/claude_desktop_config.json
Windows:
# Config location
%APPDATA%\Claude\claude_desktop_config.json
Example config structure:
{
  "mcpServers": {
    "mcts-mcp-server": {
      "command": "uv",
      "args": [
        "--directory",
        "/path/to/mcts-mcp-server/src",
        "run",
        "mcts-mcp-server"
      ],
      "env": {
        "UV_PROJECT_ENVIRONMENT": "/path/to/mcts-mcp-server"
      }
    }
  }
}
Important: Update the paths to match your installation directory.
After adding the configuration, restart Claude Desktop to load the MCTS server.
The server exposes many tools to your LLM detailed below in a copy-pasteable format for your system prompt.
When you ask Claude to perform deep analysis on a topic or question, it will leverage these tools automatically to explore different angles using the MCTS algorithm and analysis tools.
The MCTS MCP server uses a local inference approach rather than trying to call the LLM directly. This is compatible with the MCP protocol, which is designed for tools to be called by an AI assistant (like Claude) rather than for the tools to call the AI model themselves.
When Claude asks the server to perform analysis, the server:
If you prefer manual setup or the automatic setup fails:
Linux/macOS:
curl -LsSf https://astral.sh/uv/install.sh | sh
Windows (PowerShell):
powershell -c "irm https://astral.sh/uv/install.ps1 | iex"
# Clone repository
git clone https://github.com/angrysky56/mcts-mcp-server.git
cd mcts-mcp-server

# Create virtual environment
uv venv .venv

# Activate virtual environment
# Linux/macOS:
source .venv/bin/activate
# Windows:
.venv\Scripts\activate

# Install dependencies
uv pip install .
uv pip install .[dev]  # Optional development dependencies

# Install Gemini package specifically (if not in pyproject.toml)
uv pip install google-genai>=1.20.0
# Copy environment file
cp .env.example .env

# Edit .env file with your API keys
nano .env  # or use your preferred editor

# Create state directory
mkdir -p ~/.mcts_mcp_server
1. Python Version Error
Solution: Install Python 3.10+ from python.org
2. UV Not Found After Install
# Add UV to PATH manually
export PATH="$HOME/.cargo/bin:$PATH"
# Or on Windows: Add %USERPROFILE%\.cargo\bin to PATH
3. Google Gemini Import Error
# Install Gemini package manually
uv pip install google-genai
4. Permission Denied (Linux/macOS)
# Make scripts executable
chmod +x setup.sh setup_unix.sh
5. Claude Desktop Not Detecting Server
python verify_installation.pyFor using LLM providers like OpenAI, Anthropic, and Google Gemini, you need to provide API keys. This server loads API keys from a .env file located in the root of the repository.
cp .env.example .env.env: Open the .env file and replace the placeholder keys with your actual API keys:
OPENAI_API_KEY="your_openai_api_key_here"
ANTHROPIC_API_KEY="your_anthropic_api_key_here"
GEMINI_API_KEY="your_google_gemini_api_key_here"
.env file:
If these are not set, the system defaults to "ollama" and attempts to use a model like "cogito:latest" or another provider-specific default.# Default LLM Provider to use (e.g., "ollama", "openai", "anthropic", "gemini") DEFAULT_LLM_PROVIDER="ollama" # Default Model Name for the selected provider DEFAULT_MODEL_NAME="cogito:latest"
The .env file is included in .gitignore, so your actual keys will not be committed to the repository.
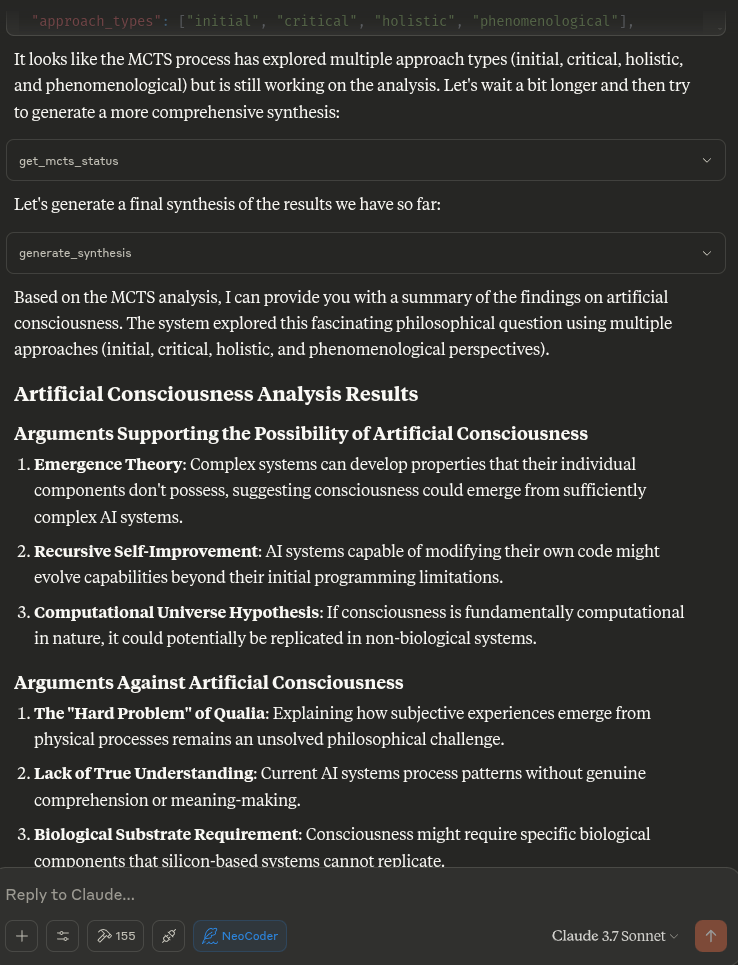
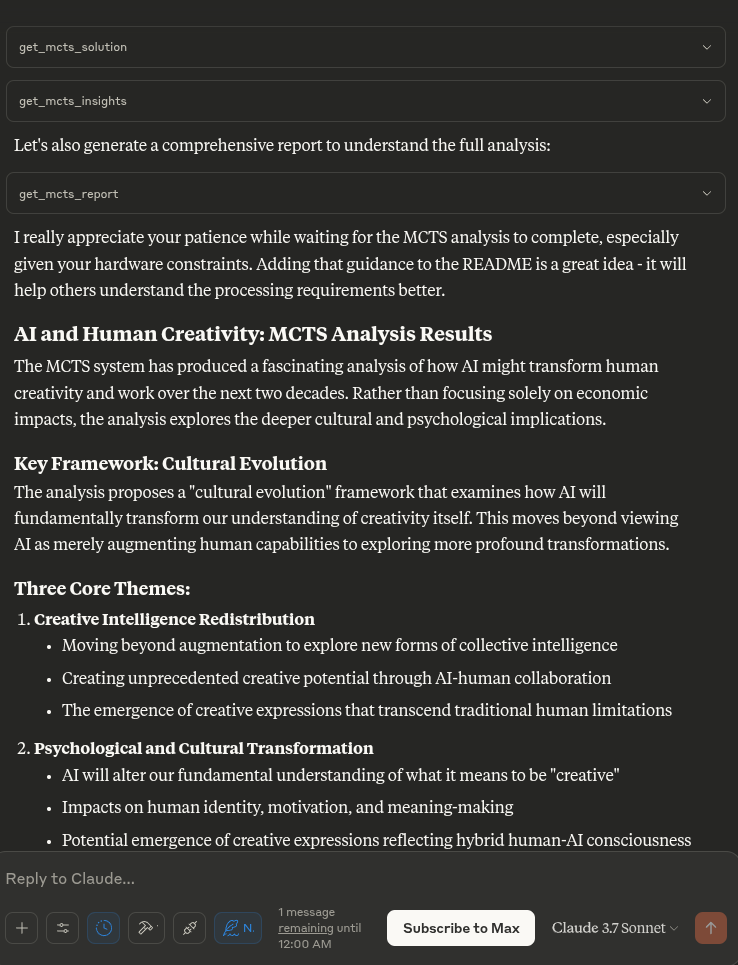
# MCTS server and usage instructions:

# List available Ollama models (if using Ollama)
list_ollama_models()

# Set the active LLM provider and model
# provider_name can be "ollama", "openai", "anthropic", "gemini"
# model_name is specific to the provider (e.g., "cogito:latest" for ollama, "gpt-4" for openai)
set_active_llm(provider_name="openai", model_name="gpt-3.5-turbo")
# Or, to use defaults from .env or provider-specific defaults:
# set_active_llm(provider_name="openai")

# Initialize analysis (can also specify provider and model here to override active settings for this run)
initialize_mcts(question="Your question here", chat_id="unique_id", provider_name="openai", model_name="gpt-4")
# Or using the globally set active LLM:
# initialize_mcts(question="Your question here", chat_id="unique_id")

run_mcts(iterations=1, simulations_per_iteration=5)

After run_mcts is called it can take quite a long time ie minutes to hours
- so you may discuss any ideas or questions or await user confirmation of the process finishing,
- then proceed to synthesis and analysis tools on resumption of chat.

## MCTS-MCP Tools Overview

### Core MCTS Tools:
- `initialize_mcts`: Start a new MCTS analysis with a specific question. Can optionally specify `provider_name` and `model_name` to override defaults for this run.
- `run_mcts`: Run the MCTS algorithm for a set number of iterations/simulations.
- `generate_synthesis`: Generate a final summary of the MCTS results.
- `get_config`: View current MCTS configuration parameters, including active LLM provider and model.
- `update_config`: Update MCTS configuration parameters (excluding provider/model, use `set_active_llm` for that).
- `get_mcts_status`: Check the current status of the MCTS system.
- `set_active_llm(provider_name: str, model_name: Optional[str])`: Select which LLM provider and model to use for MCTS.
- `list_ollama_models()`: Show all available local Ollama models (if using Ollama provider).

Default configuration prioritizes speed and exploration, but you can customize parameters like exploration_weight, beta_prior_alpha/beta, surprise_threshold.

## Configuration

You can customize the MCTS parameters in the config dictionary or through Claude's `update_config` tool. Key parameters include:

- `max_iterations`: Number of MCTS iterations to run
- `simulations_per_iteration`: Number of simulations per iteration
- `exploration_weight`: Controls exploration vs. exploitation balance (in UCT)
- `early_stopping`: Whether to stop early if a high-quality solution is found
- `use_bayesian_evaluation`: Whether to use Bayesian evaluation for node scores
- `use_thompson_sampling`: Whether to use Thompson sampling for selection

Articulating Specific Pathways:
Delving into the best_path nodes (using mcts_instance.get_best_path_nodes() if you have the instance) and examining the sequence of thought and content
at each step can provide a fascinating micro-narrative of how the core insight evolved.

Visualizing the tree (even a simplified version based on export_tree_summary) could also be illuminating and I will try to set up this feature.

Modifying Parameters: This is a great way to test the robustness of the finding or explore different "cognitive biases" of the system.

Increasing Exploration Weight: Might lead to more diverse, less obviously connected ideas.

Decreasing Exploration Weight: Might lead to deeper refinement of the initial dominant pathways.

Changing Priors (if Bayesian): You could bias the system towards certain approaches (e.g., increase alpha for 'pragmatic') to see how it influences the
outcome.

More Iterations/Simulations: Would allow for potentially deeper convergence or exploration of more niche pathways.

### Results Collection:
- Automatically stores results in `/home/ty/Repositories/ai_workspace/mcts-mcp-server/results` (path might be system-dependent or configurable)
- Organizes by provider, model name, and run ID
- Stores metrics, progress info, and final outputs

# MCTS Analysis Tools

This extension adds powerful analysis tools to the MCTS-MCP Server, making it easy to extract insights and understand results from your MCTS runs.

The MCTS Analysis Tools provide a suite of integrated functions to:

1. List and browse MCTS runs
2. Extract key concepts, arguments, and conclusions
3. Generate comprehensive reports
4. Compare results across different runs
5. Suggest improvements for better performance

## Available Run Analysis Tools

### Browsing and Basic Information

- `list_mcts_runs(count=10, model=None)`: List recent MCTS runs with key metadata
- `get_mcts_run_details(run_id)`: Get detailed information about a specific run
- `get_mcts_solution(run_id)`: Get the best solution from a run

### Analysis and Insights

- `analyze_mcts_run(run_id)`: Perform a comprehensive analysis of a run
- `get_mcts_insights(run_id, max_insights=5)`: Extract key insights from a run
- `extract_mcts_conclusions(run_id)`: Extract conclusions from a run
- `suggest_mcts_improvements(run_id)`: Get suggestions for improvement

### Reporting and Comparison

- `get_mcts_report(run_id, format='markdown')`: Generate a comprehensive report (formats: 'markdown', 'text', 'html')
- `get_best_mcts_runs(count=5, min_score=7.0)`: Get the best runs based on score
- `compare_mcts_runs(run_ids)`: Compare multiple runs to identify similarities and differences

## Usage Examples

# To list your recent MCTS runs:

list_mcts_runs()

# To get details about a specific run:

get_mcts_run_details('ollama_cogito:latest_1745979984') # Example run_id format

### Extracting Insights

# To get key insights from a run:

get_mcts_insights(run_id='ollama_cogito:latest_1745979984')

### Generating Reports

# To generate a comprehensive markdown report:

get_mcts_report(run_id='ollama_cogito:latest_1745979984', format='markdown')


### Improving Results

# To get suggestions for improving a run:

suggest_mcts_improvements(run_id='ollama_cogito:latest_1745979984')

### Comparing Runs

To compare multiple runs:

compare_mcts_runs(['ollama_cogito:latest_1745979984', 'openai_gpt-3.5-turbo_1745979584']) # Example run_ids

## Understanding the Results

The analysis tools extract several key elements from MCTS runs:

1. **Key Concepts**: The core ideas and frameworks in the analysis
2. **Arguments For/Against**: The primary arguments on both sides of a question
3. **Conclusions**: The synthesized conclusions or insights from the analysis
4. **Tags**: Automatically generated topic tags from the content

## Troubleshooting

If you encounter any issues with the analysis tools:

1. Check that your MCTS run completed successfully (status: "completed")
2. Verify that the run ID you're using exists and is correct
3. Try listing all runs to see what's available: `list_mcts_runs()`
4. Make sure the `.best_solution.txt` file exists in the run's directory

## Advanced Example Usage

### Customizing Reports

You can generate reports in different formats:

# Generate a markdown report

report = get_mcts_report(run_id='ollama_cogito:latest_1745979984', format='markdown')

# Generate a text report

report = get_mcts_report(run_id='ollama_cogito:latest_1745979984', format='text')

# Generate an HTML report

report = get_mcts_report(run_id='ollama_cogito:latest_1745979984', format='html')

### Finding the Best Runs

To find your best-performing runs:

best_runs = get_best_mcts_runs(count=3, min_score=8.0)

This returns the top 3 runs with a score of at least 8.0.

## Simple Usage Instructions

1. **Setting the LLM Provider and Model**:
   # For Ollama:
   list_ollama_models()  # See available Ollama models
   set_active_llm(provider_name="ollama", model_name="cogito:latest")

   # For OpenAI:
   set_active_llm(provider_name="openai", model_name="gpt-4")

   # For Anthropic:
   set_active_llm(provider_name="anthropic", model_name="claude-3-opus-20240229")

   # For Gemini:
   set_active_llm(provider_name="gemini", model_name="gemini-1.5-pro-latest")

2. **Starting a New Analysis**:
   # Uses the LLM set by set_active_llm, or defaults from .env
   initialize_mcts(question="Your question here", chat_id="unique_identifier")
   # Alternatively, specify provider/model for this specific analysis:
   # initialize_mcts(question="Your question here", chat_id="unique_identifier", provider_name="openai", model_name="gpt-4-turbo")

3. **Running the Analysis**:

   run_mcts(iterations=3, simulations_per_iteration=10)

4. **Comparing Performance (Ollama specific example)**:

   run_model_comparison(question="Your question", iterations=2)

5. **Getting Results**:

   generate_synthesis()  # Final summary of results
   get_mcts_status()     # Current status and metrics
# Activate virtual environment
source .venv/bin/activate

# Install development dependencies
uv pip install .[dev]

# Run the server directly (for testing)
uv run server.py

# OR use the MCP CLI tools
uv run -m mcp dev server.py
To test that the server is working correctly:
# Activate the virtual environment
source .venv/bin/activate

# Run the verification script
python verify_installation.py

# Run the test script
python test_server.py
This will test the LLM adapter to ensure it's working properly.
mcts-mcp-server/
├── src/mcts_mcp_server/          # Main package
│   ├── adapters/                 # LLM adapters
│   ├── analysis_tools/           # Analysis and reporting tools
│   ├── mcts_core.py             # Core MCTS algorithm
│   ├── tools.py                 # MCP tools
│   └── server.py                # MCP server
├── setup.py                     # Cross-platform setup script
├── setup.sh                     # Unix setup script
├── setup_windows.bat            # Windows setup script
├── verify_installation.py       # Installation verification
├── pyproject.toml               # Project configuration
├── .env.example                 # Environment template
└── README.md                    # This file
Contributions to improve the MCTS MCP server are welcome. Some areas for potential enhancement:
python setup.pypython verify_installation.pypython test_server.py