Pocket MCP Manager
STDIOFlexible management system for handling multiple MCP servers through central interface.
Flexible management system for handling multiple MCP servers through central interface.
A flexible and user-friendly management system for Model Context Protocol (MCP) servers, consisting of a client-server architecture that simplifies handling multiple MCP servers through a central interface.
The Pocket MCP Manager streamlines the process of working with multiple MCP servers by allowing you to:
This approach means you only need to update a single API key in your AI tools when changing which MCP servers you want to use, rather than reconfiguring multiple connection settings.
The server component is an MCP proxy server that:
# Clone the repository
git clone [email protected]:dailydaniel/pocket-mcp.git
cd pocket-mcp/server

# Install dependencies
npm install

# The build step runs automatically during installation
Add the following configuration to your Claude Desktop settings:
{
  "mcpServers": {
    "mcp-proxy": {
      "command": "node",
      "args": ["/full/path/to/pocket-mcp/server/build/index.js"],
      "env": {
        "MCP_API_KEY": "api_key_from_client",
        "CLIENT_API_URL": "http://localhost:<port>/api"
      }
    }
  }
}
Replace:
/full/path/to/pocket-mcp/server/build/index.js with the absolute path to your server's build/index.js fileapi_key_from_client with the API key generated from the client UI<port> with the port shown in the API server logs (typically 8000)The client provides a web-based UI built with Streamlit for:
# Navigate to the client directory
cd pocket-mcp/client

# Create and activate a virtual environment
python -m venv .venv --prompt "mcp-venv"
source .venv/bin/activate

# Install requirements
pip install -r requirements.txt

# Copy the example config
cp servers_config_example.json servers_config.json

# Edit the configuration with your MCP servers
vim servers_config.json

# Run the client
streamlit run app.py
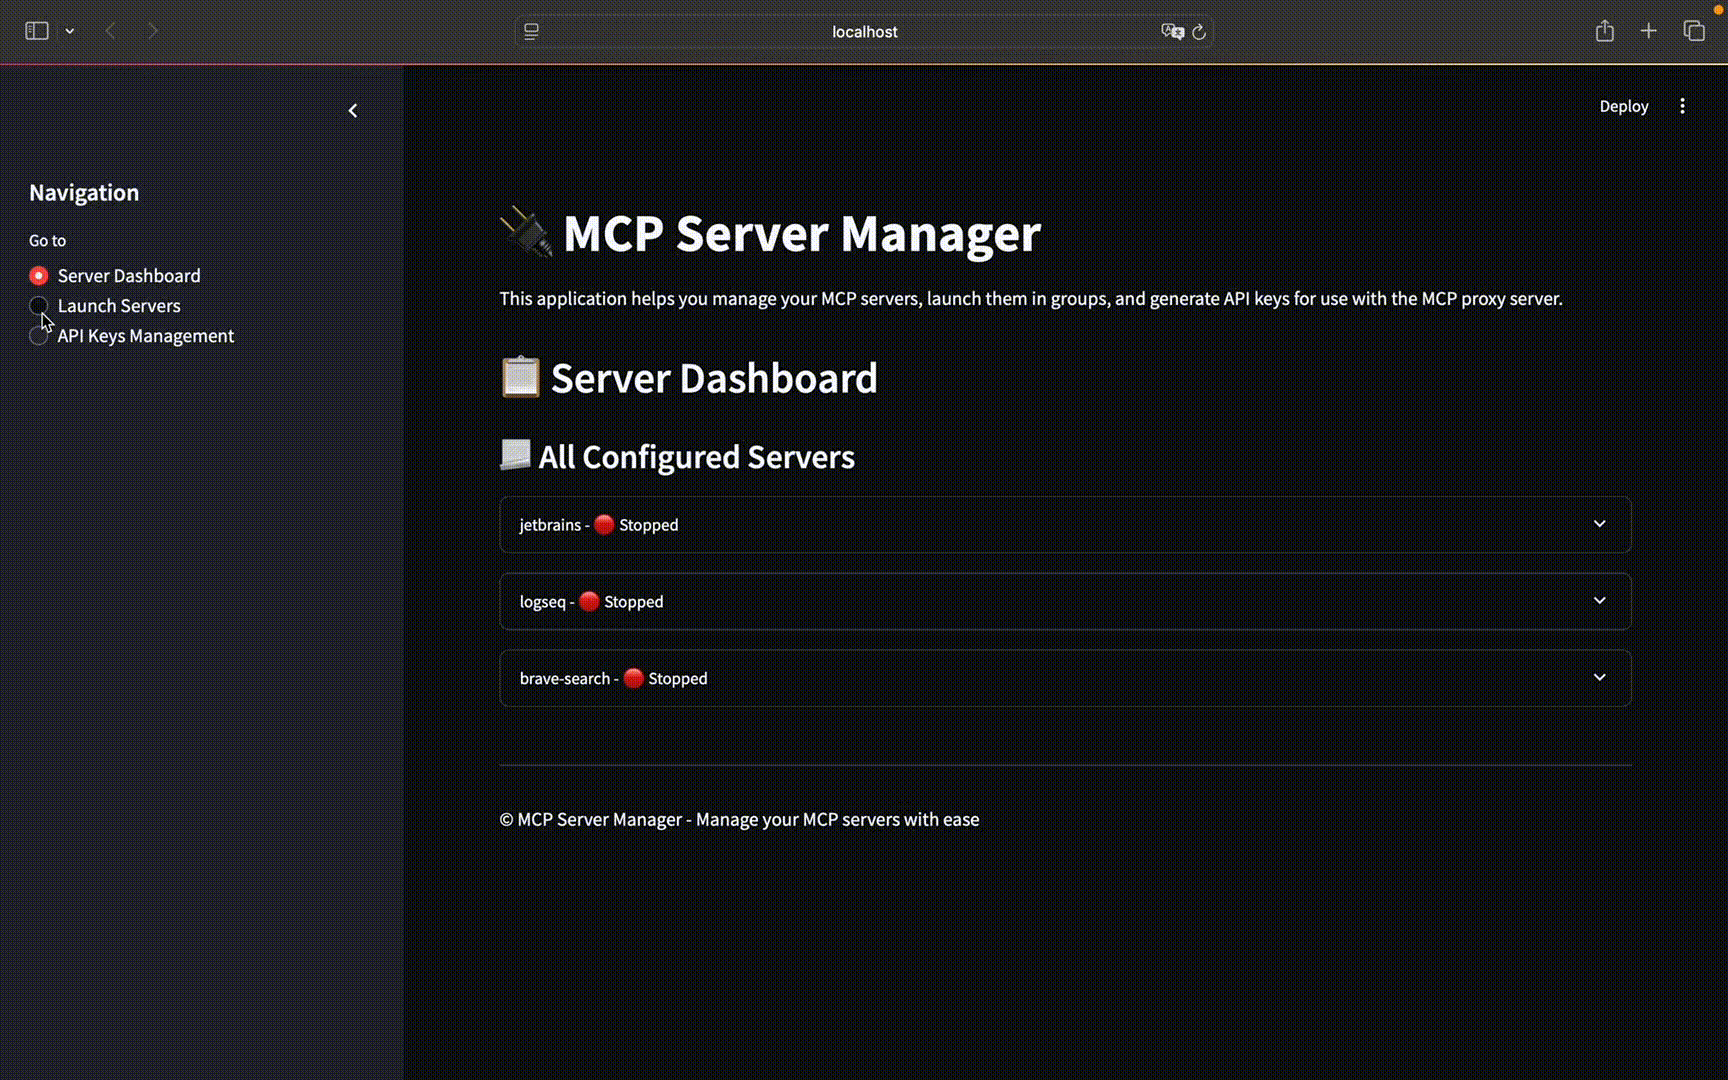
Create a servers_config.json file in the client directory with your MCP servers:
{
  "mcpServers": {
    "jetbrains": {
      "command": "npx",
      "args": ["-y", "@jetbrains/mcp-proxy"]
    },
    "logseq": {
      "command": "uvx",
      "args": ["mcp-server-logseq"],
      "env": {
        "LOGSEQ_API_TOKEN": "API_KEY",
        "LOGSEQ_API_URL": "http://127.0.0.1:<port>"
      }
    },
    "brave-search": {
      "command": "npx",
      "args": [
        "-y",
        "@modelcontextprotocol/server-brave-search"
      ],
      "env": {
        "BRAVE_API_KEY": "API_KEY"
      }
    }
  }
}
Replace API_KEY and <port> with your actual values.
The repository includes an example client for chatting with LLMs using OpenAI API and MCP servers.
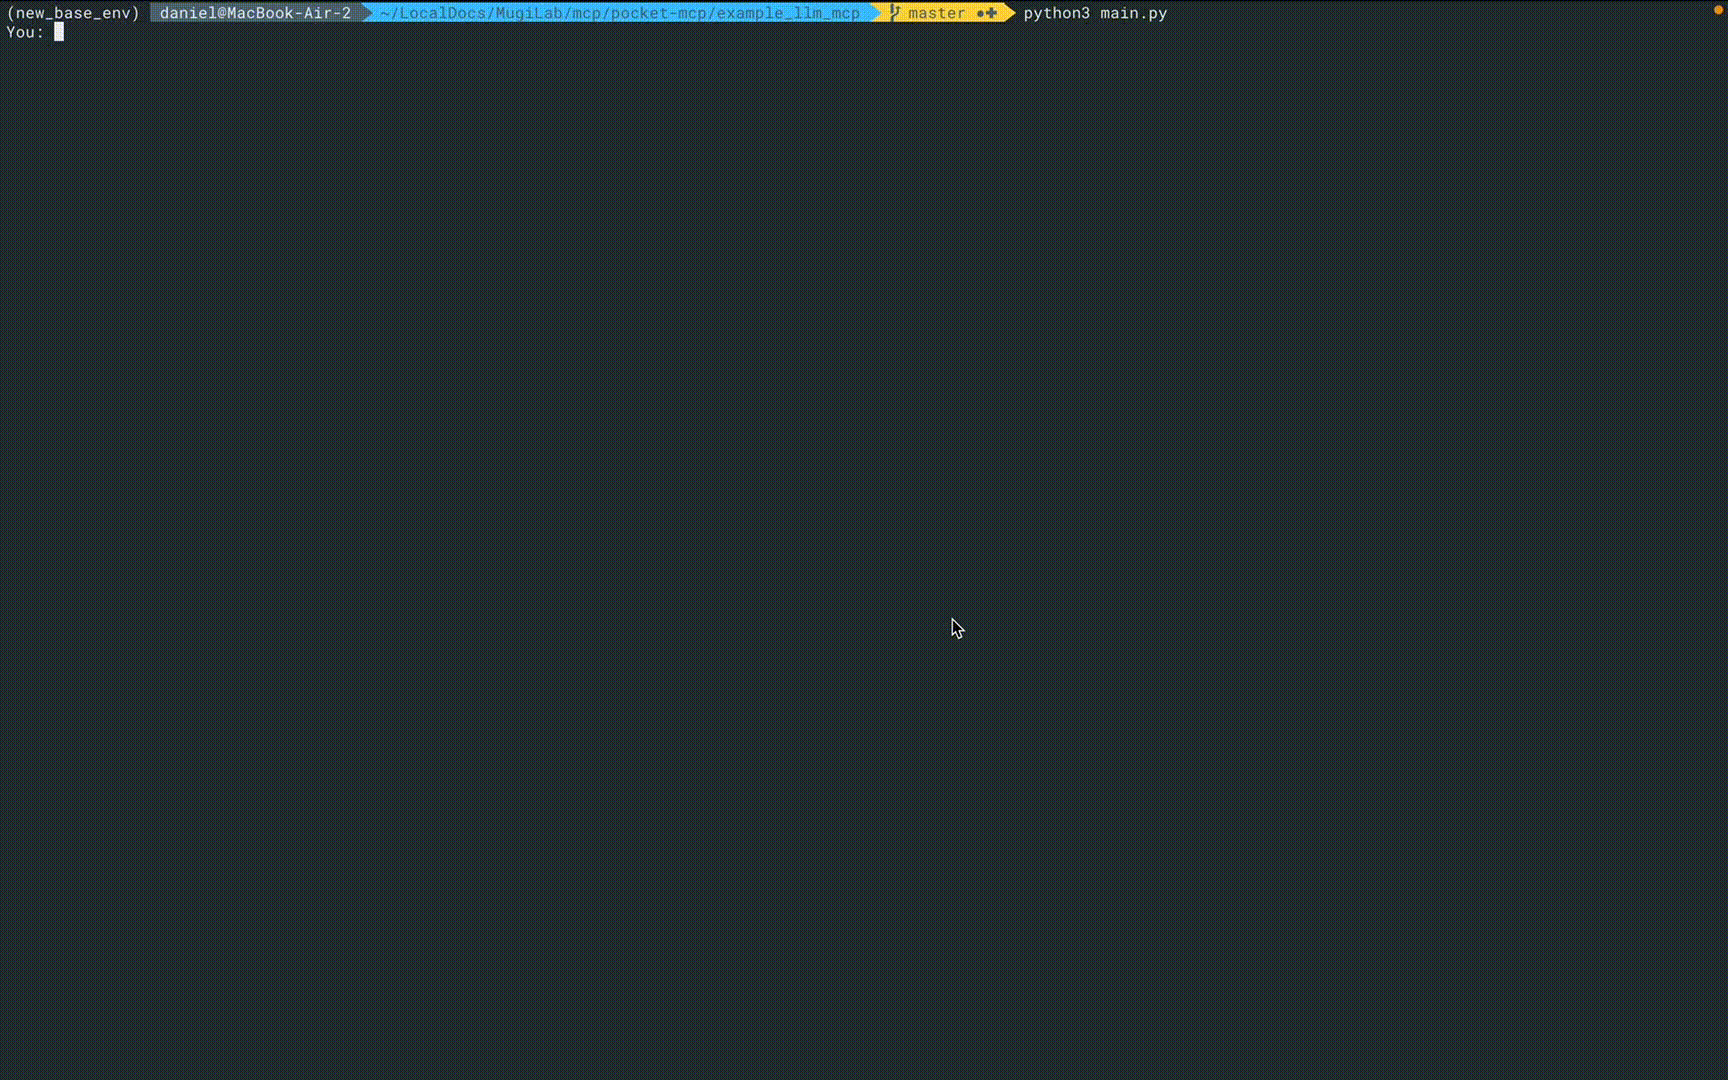
# Navigate to the example client directory
cd pocket-mcp/example_llm_mcp

# Copy the example environment file
cp .env.example .env

# Edit the .env file and add your OpenAI API key
vim .env

# Add server configurations to the servers_config.json file
cp servers_config_example.json servers_config.json

# Add API key from the client
vim servers_config.json

# If not already in a virtual environment
# May use the same virtual environment as for the client
source ../client/.venv/bin/activate

# Install requirements
pip install -r requirements.txt

# Run the client
python3 main.py
The example client will connect to your running MCP servers and allow you to chat with an LLM while utilizing MCP capabilities.